How to measure your dog

Different brands have different ways of how to measure a dog and assess the fit of a harness. Below, we explain how we do it. Other providers may do it differently.
Today, all kinds of different dogs are used in dog sports. To manufacture a perfectly fitting harness – no matter if one-size-fits-all or made-to-measure – is an exciting task for us.
The measures in the size tables for the harnesses serve as a first orientation. We recommend the following procedure if you’re not sure about your dog’s harness size:
Four steps to the perfectly fitting harness:
Step 1
As a start, measure your dog according to our guide below. We need the following three sizes (see image above):
Neck size: Measure the size in the middle of the neck “lying flat” (without air between the fur and the measuring tab, but without choking the throat). Dogs with a very strong neck should be measured a little bit below the middle of the neck. It has proven useful to hold the measure tape in the middle of the neck and go down 1-2 cm at the front of the larynx, depending on the size of the dog.
Chest size: Measured around the lowest point of the rib cage and in a vertical line upwards, also “lying flat”.
Length: Feel the withers (highest point of the shoulder), then move the measuring tape about 1-2 cm towards the head (depending on the size of the dog). Measure from there to the point where the back spine turns into the tail spine. This point can usually be felt very well.
It is also helpful to inform us about the age and the breed of your dog.
It is not easy to measure a dog correctly. The following errors may occur:
- Neck measured too far up: Neck too narrow/harness may not go over the head.
- Neck measured too low: Neck too wide.
- “Additions” due to thick/dense fur: Harness usually too big around neck and chest.
- Dog is slouching/is humping its back: Harness usually too short.
Step 2
Compare your measurements with those in the size table and choose the size (or sizes – there can be two or even three) where the neck fits as closely as possible. The neck size is the most important measurement. It may be that the neck circumference (measured) does not match the chest circumference and the length at all. Order this size (or these sizes) anyway.
Step 3
We will then send you the according harness (or harnesses) and you can try them on. Take several pictures of your dog in the harness and send them to us by email.
Important: The pictures should be taken from the front and the side. Your dog should be standing upright and straight under traction (as on the trail). Also pay attention to the angle at which you pull the rope at the end loop. This angle should be similar to the one of the joring or pulling leash when you are walking or running with the dog.
Based on your pictures and measurements, we can get a good idea of how the harness should look like and what size would fit perfectly. Once we have received your pictures, we will contact you to discuss this with you.
This approach has proven to be successful and delivers the best results.
Step 4
Once you have received your new harness, test it as described above, take pictures and send them to us. We will then have another look at them to make sure it fits well. Only in some cases, small changes have to be made to the harness afterwards.

The red lines show (simplified) the correct fit of the harness under traction (as on the trail).
Under traction means that the dog pulls just like on the trail.
Only then can the fit of the harness be properly assessed. It is not enough to pull the harness slightly backwards with one or two fingers.
Without traction, an Xback sits loosely on the dog (as it should).
But watch out: This often makes it seem too short!
When a dog starts pulling, the harness looks completely different. Especially if your dog bangs vehemently into the leash, the harness can seem too long.
Therefore, as mentioned above, you should take the pictures under normal traction, just like on the trail.
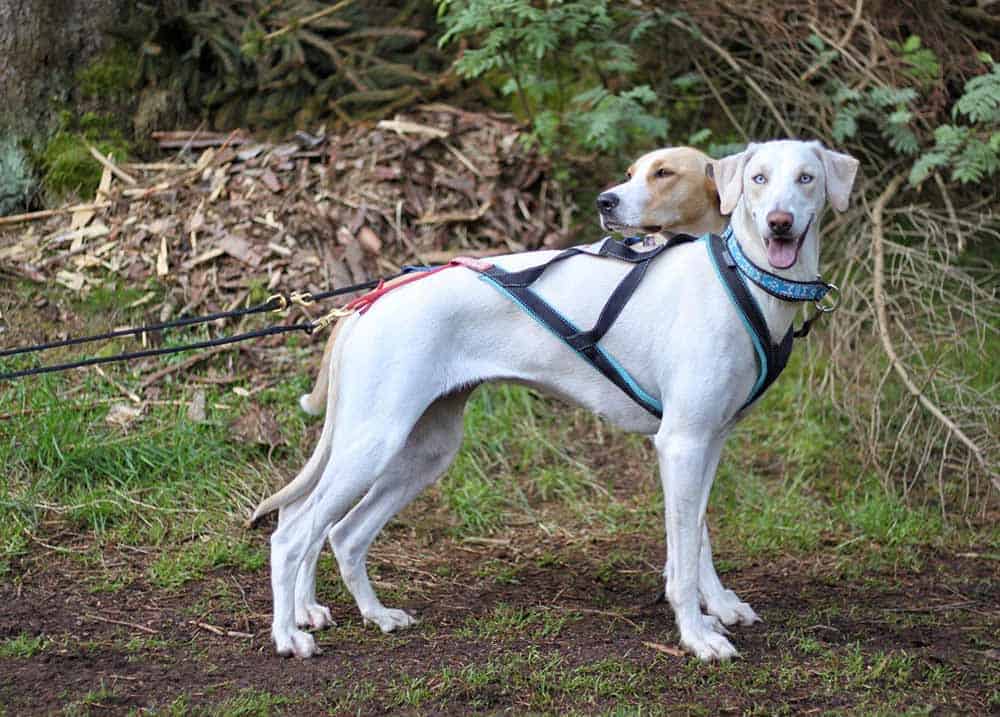
Important: Check the fit of the harness as described below:
The neck part sits right between neck and shoulder and should not slip onto the shoulder. Otherwise, it would be too large. There is no need to worry that the harness might “block” the shoulder. Of course, different dogs have different sizes, but in general, this area is relatively narrow. This narrow area is exactly where the neck part of the harness should sit. If the neck part is too narrow and sits just a little bit too high, the harness will not only press on the trachea but also on the large blood vessels and the thyroid gland – and that would be bad. Therefore check!
The breastbone (sternum) must not be covered.
In other words, the point where the straps of the Xback harness cross must not go beyond the breastbone. The same applies to the inserted chest piece of our Xback G2/G3. Otherwise, the neck part would be too tight. Check under traction!
Behind the front legs, the straps or the chest piece should remain “tight” for a few centimetres so that the harness does not chafe under the armpits when in motion. Check!
The red line from the chest to the base of the tail shows the logical course of the straps on the dog.
The green and yellow lines, on the other hand, show how a harness that is too short or too long would sit on the dog.
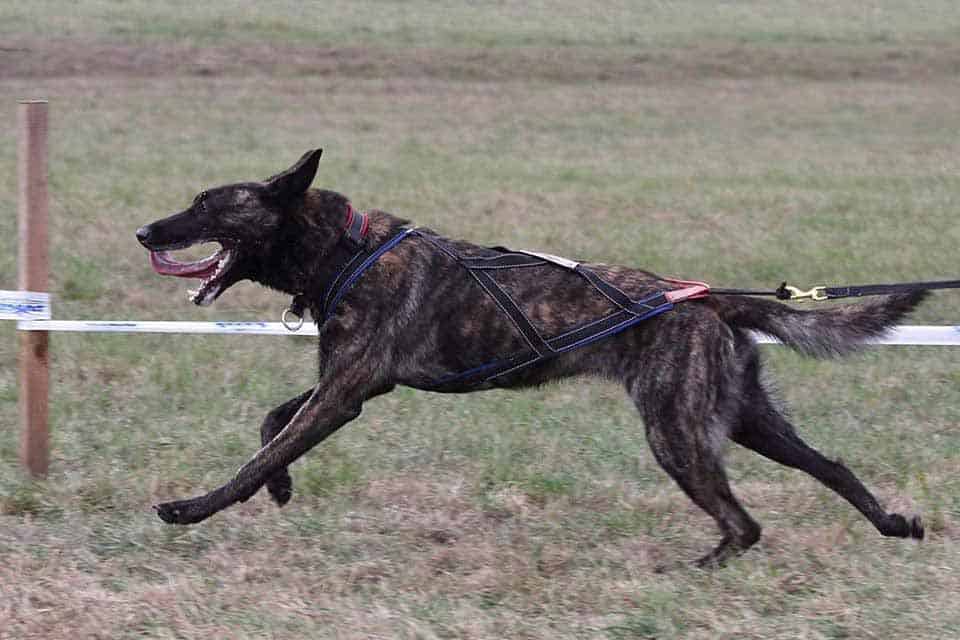
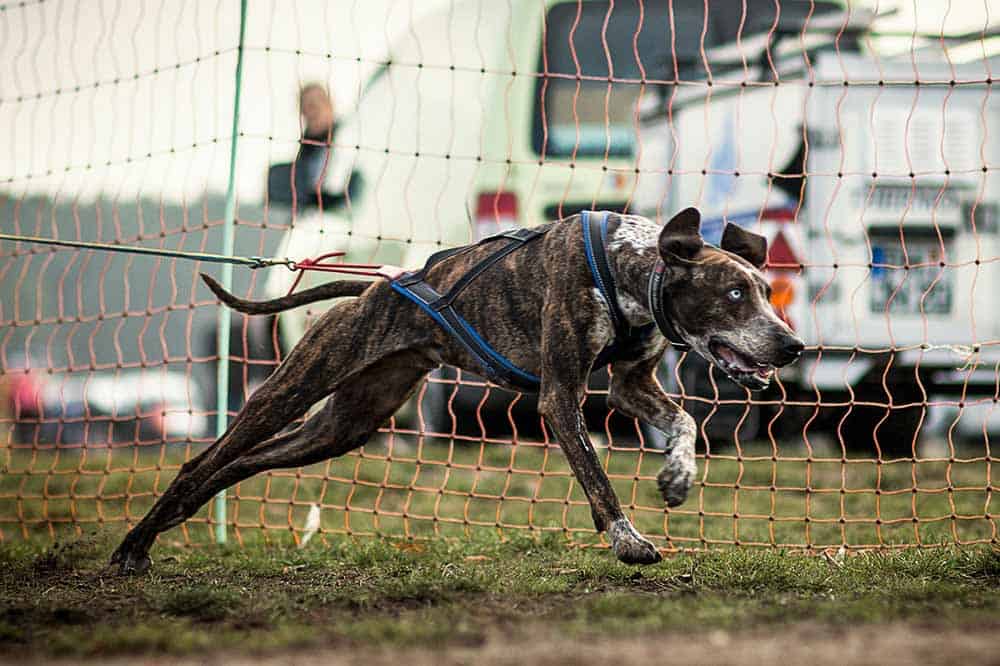
Our harnesses in action
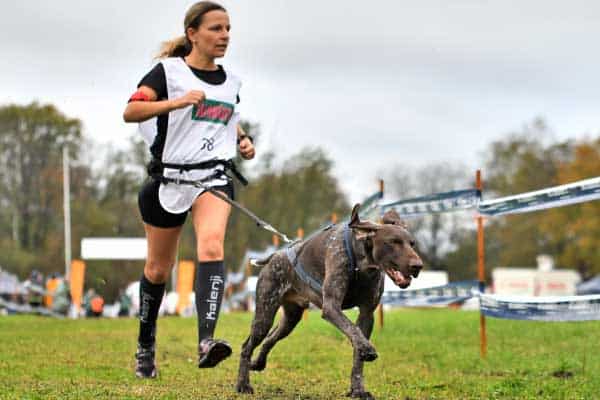
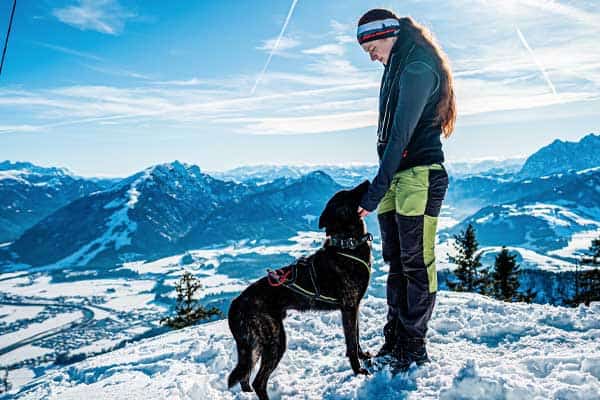
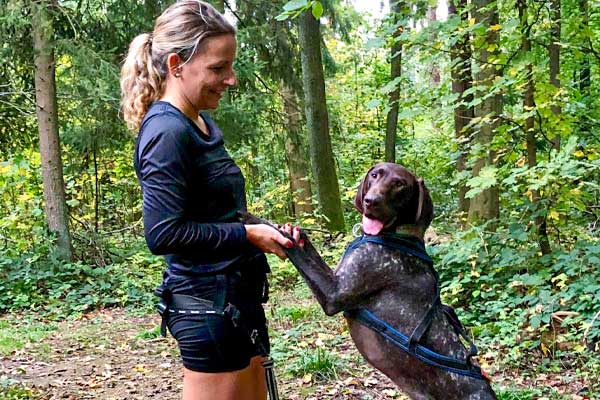
The photos show our harnesses “in action”: Everything is in place and fits well, nothing wobbles around, and nothing is loose.
Thanks to Alexandra Chavez (ALEX 2.0 Photography) for the great picture with “Kamikaze Cat” and to Donna Luettjen Photography for the great picture with “Chaos”.
During a CaniX run or a tour with the bike or scooter, the harness is connected to a pulling leash. Therefore, it is raised a little at the back with a certain angle. This means that harnesses of the right length generally do not press on the hips. With a sled or TW, the situation may be somewhat different due to the more horizontal course of the pulling leash.
The X of our harnesses is relatively large compared to some other manufacturers. This means that the dog has enough space at top speed and does not constantly work against the X. An X that is too small/narrow leads to premature fatigue and tensions.
Under moderate traction, the X of our harnesses does not have to be completely tight. As mentioned above, this this is pretty normal. Nevertheless, in contrast to harnesses with an open form, the X cushions the spine in movement – and that is exactly what it’s there for.
Another practical feature of our second-generation (G2) harnesses is the chest piece, which encloses the dog’s chest. This, together with the moveable loop, prevents the harness from shifting under traction. If a harness still shifts on the dog, it may be a little bit too big.
The most common cause for a shifting harness, however, is the alternation between traction (load) and no traction (relief). In such a case, sensitive dogs might get chafe marks or even sores. Therefore, you should always check the fit of the harness and also train a “clean run” with your dog.
This means that the CaniX leash should always be taut during exercise. Also, you should always follow your dog’s line and avoid running a different line.
